
Creating a project template in MS Project Server
Contents:
Creating a project template in MS Project Server
You can create a project template based on any existing project. We recommend that you create a project template based on a completed project.
Steps to create a project template in MS Project Server:
- Open the project plan in MS Project Pro.
- Remove the fact that project tasks are completed.
- Click the "File" item in top menu.
- Click the "Save As" item in the left menu.
- Click the server name.
- Click the "Save" button.
- Enter the project template name in the "Name:" field.
- Choose the "Template" in the "Type:" field.
- Select the project template calendar in the "Calendar" field.
- Enter the project template fields in the "Custom fields:" block.
- Click the "Save" button.

12. Set the type of data for remove in the template in the "Save As Template" window.
13. Click the "Save" button

Showing project templates in MS Project Pro
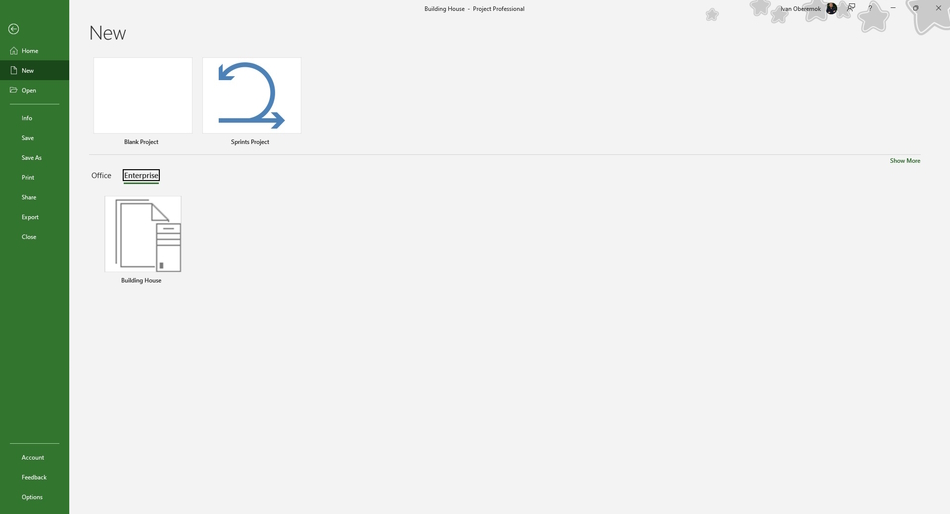
Steps to show project templates in MS Project Pro:
- Open MS Project Pro.
- Click the "File" item in the top menu.
- Click the "New" item in the left menu.
- Click the "Enterprise" link.
#projectmanagment, #projectintegrationmanagement, #initiatingprocess, #msprojectpro, #msprojectserver, #oberemokii

Author: Ivan Oberemok
